Candling Images: Amazing Pics!

I just had to share this wonderful post from Diane Eng aka SilkieChicken on www.backyardchickens.com.

Thanks to ZooMummzy, I am doing a test run of my little plywood bator and her little rooster! And I'll be sharing pics! These images are all taken using a point and shoot Canon Powershot 710IS, and the light from an eagle tac  set on high output. Photos are in real colors unless otherwise noted.

Click thumbnails for larger image!

The incubator:
http://www.backyardchickens.com/forum/uploads/thumbs/230_incubator_clear0001.jpg  http://www.backyardchickens.com/forum/uploads/thumbs/230_incubator_top_view.jpg  http://www.backyardchickens.com/forum/uploads/thumbs/230_incubator_inside0002.jpg

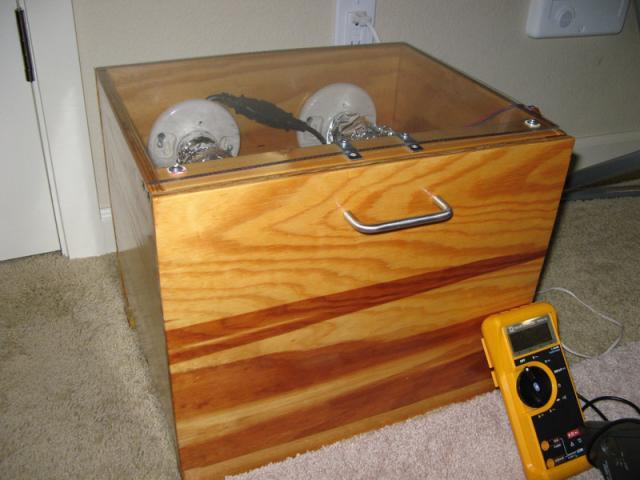
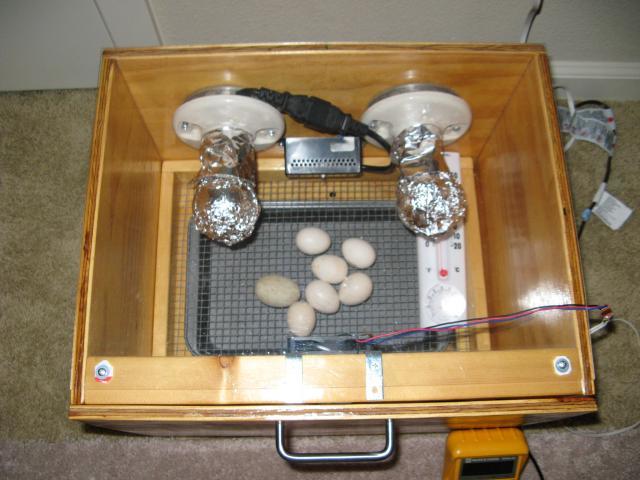
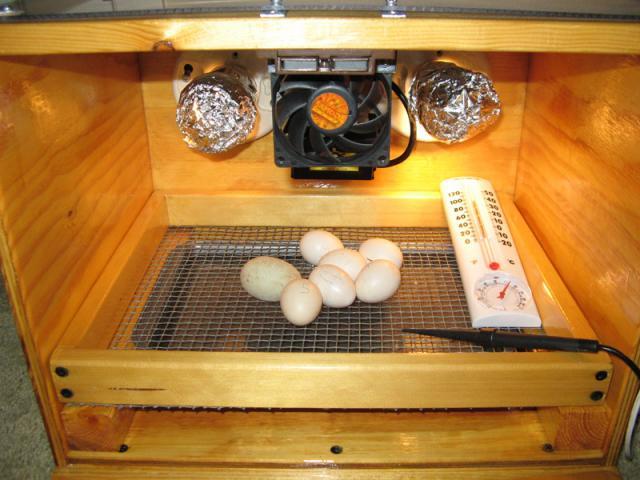
It's got a clear top for hatch day viewing and two lightbulbs covered in foil because I was too cheap to buy ceramic heat lamps. The reason behind two bulbs is in case one light bulb burns out the incubator won't go cold.  It has a salvaged computer fan and uses a salvaged GQF thermostat. There are about 8 layers of spar urethane coating the little beast so it's water tight. Started making it when I was about 13, so if I were to do it again, it would be much larger and have space planned for a fan/thermostat.  tongue Temperature is measured with a Fluke digital multimeter with thermometer attachment, and humidity is measured via wet/dry bulb methodology.


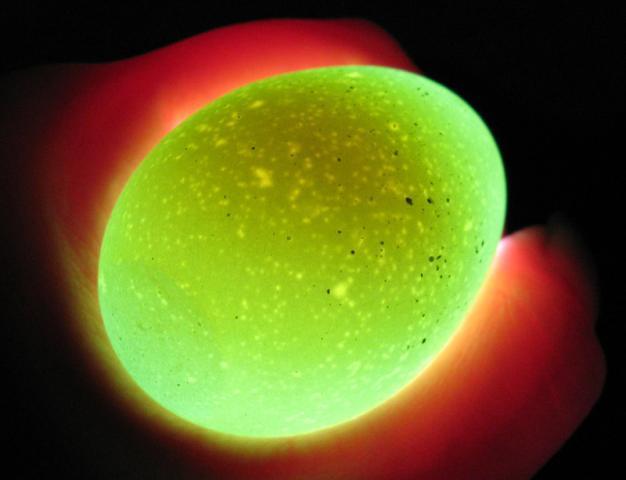
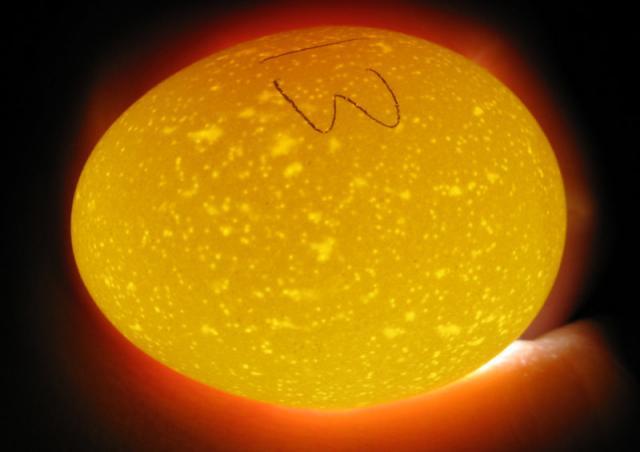
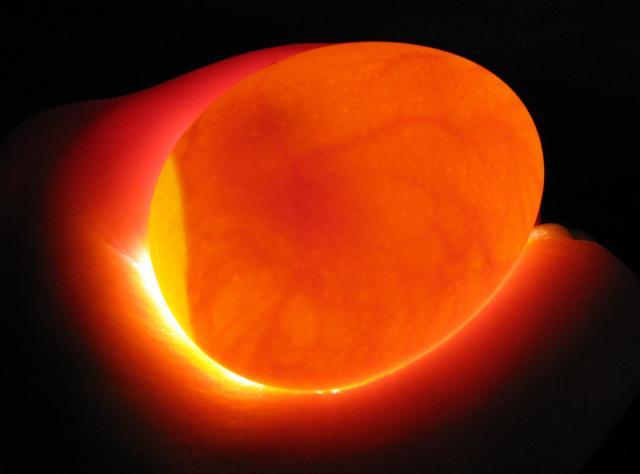
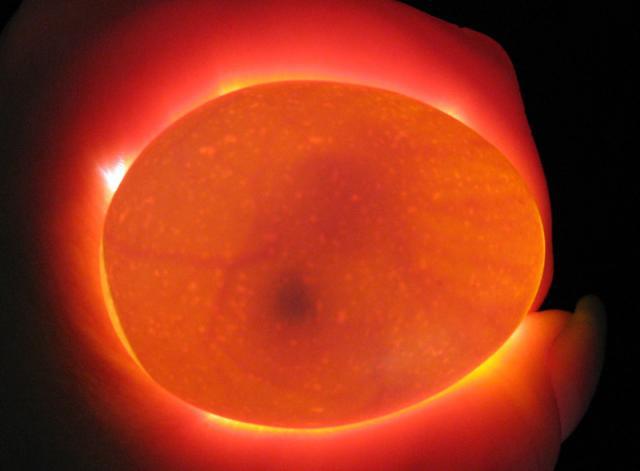
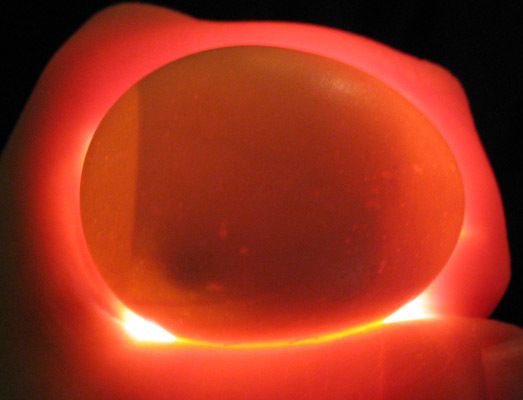
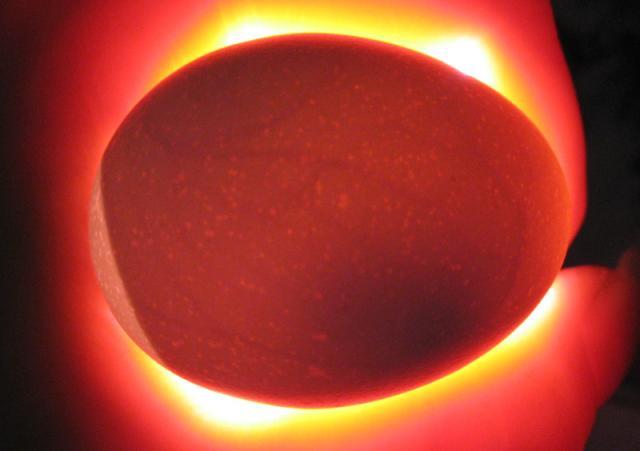
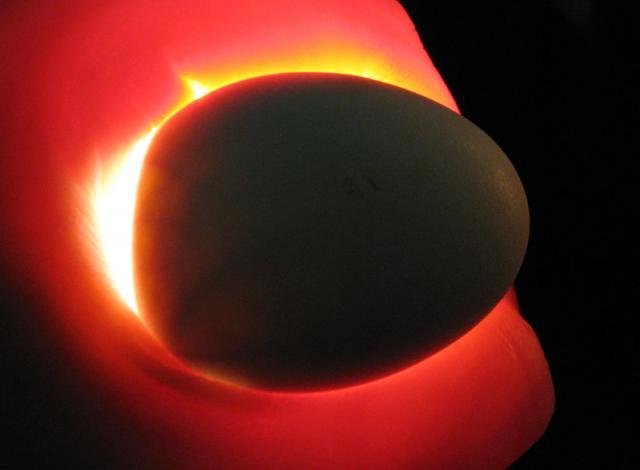
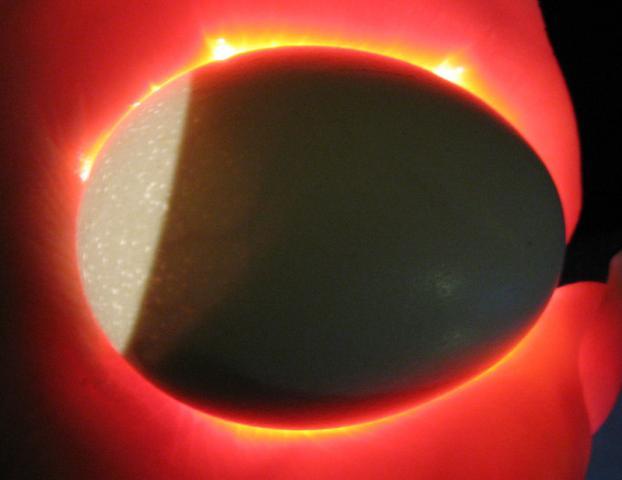
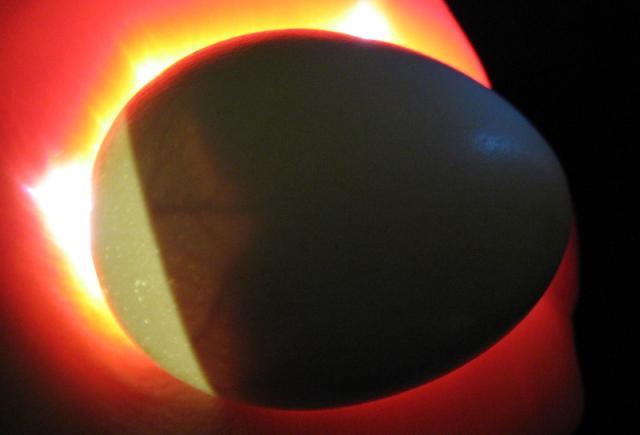
0 hrs Note that with a bight enough light you can see though brown and green eggs easily. Shell thickness and egg size will impact image quality, so note these are bantam eggs.

http://www.backyardchickens.com/forum/uploads/thumbs/230_fresh_egg_day_1_small.jpg  http://www.backyardchickens.com/forum/uploads/thumbs/230_fresh_egg_green_small.jpg


Please follow the link to "Read More." Trust me, it's worth it!

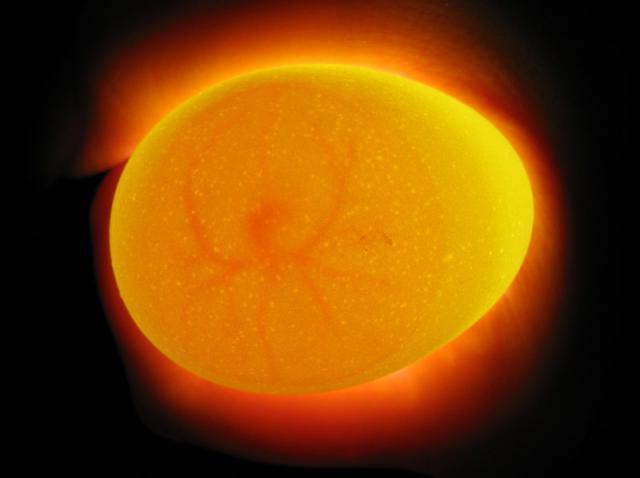
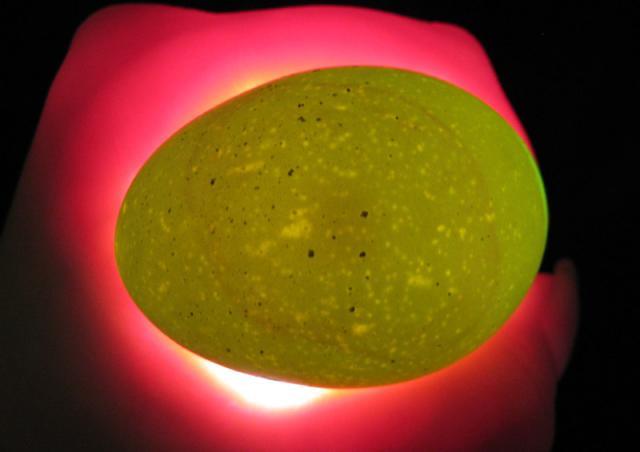
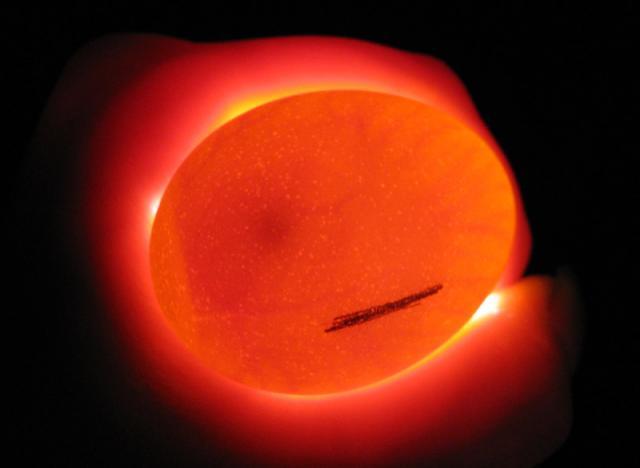
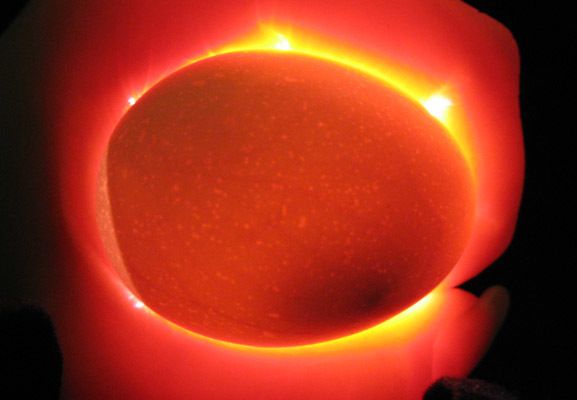
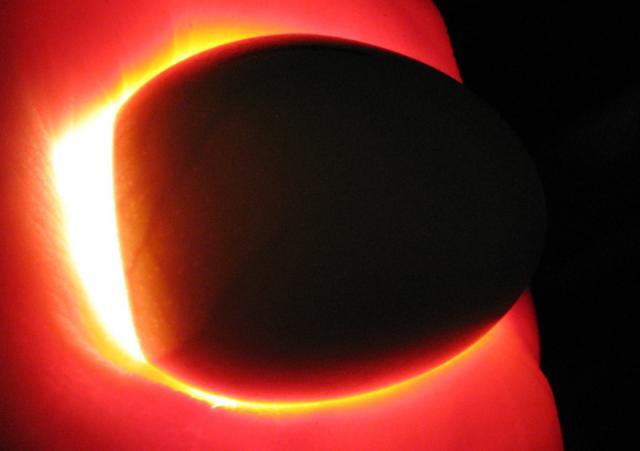
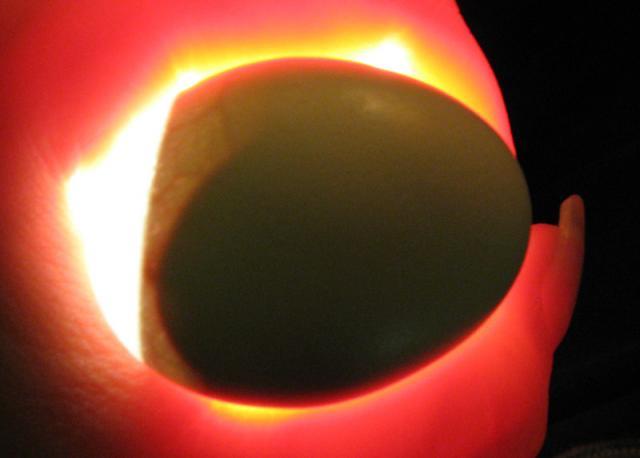
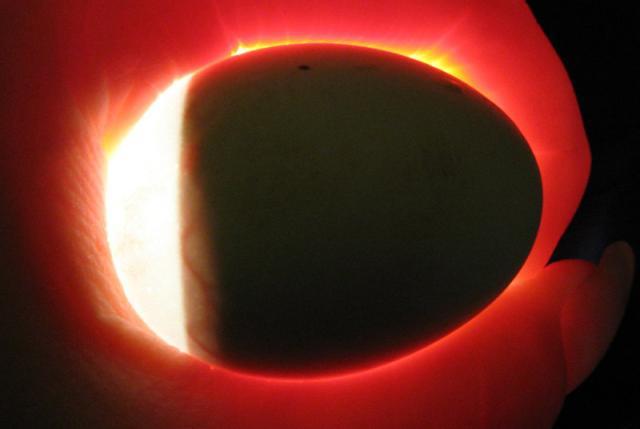
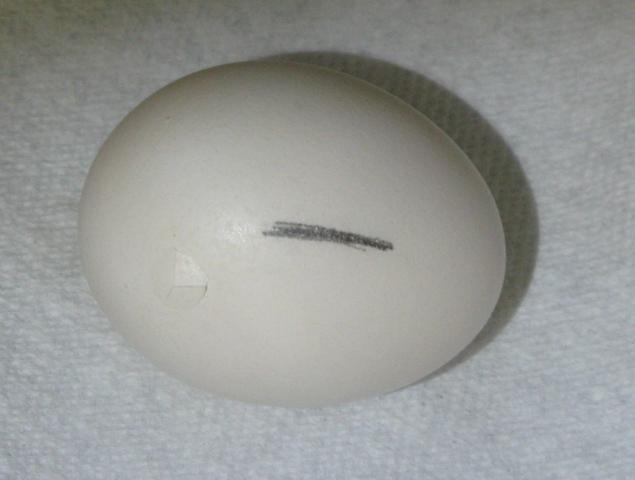
This is a great example of a porous egg, not ideal for hatching.
http://www.backyardchickens.com/forum/uploads/thumbs/230_a_porous_egg.jpg


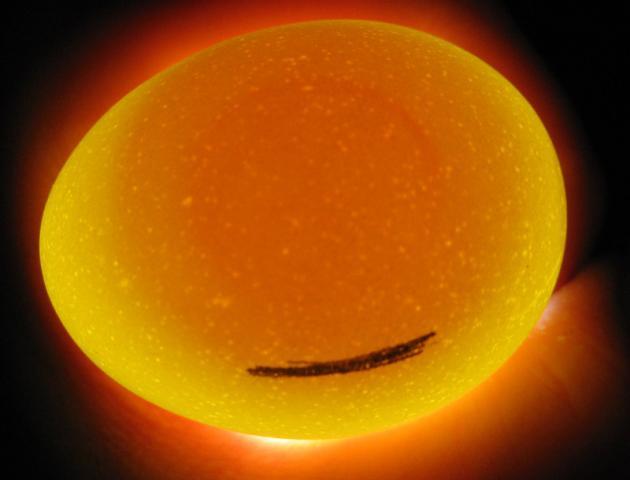
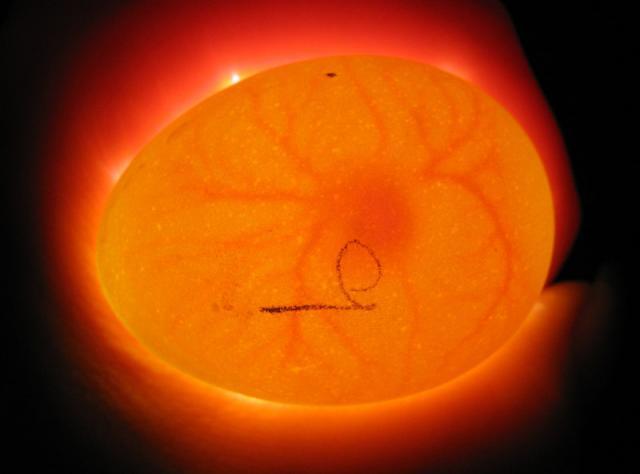
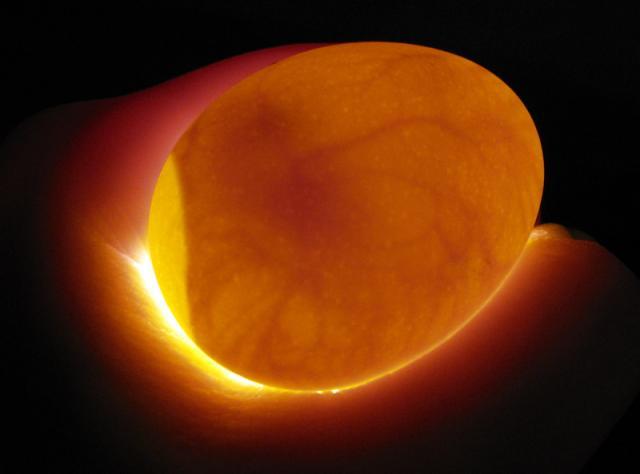
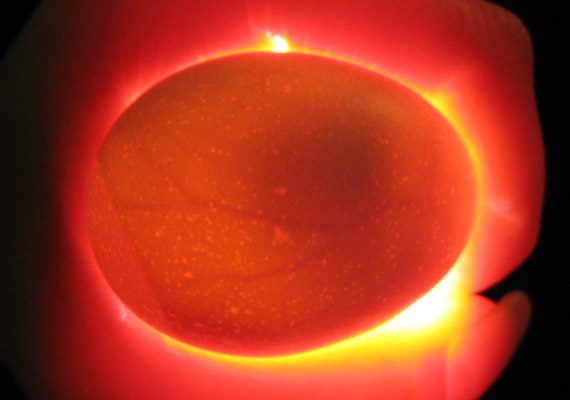
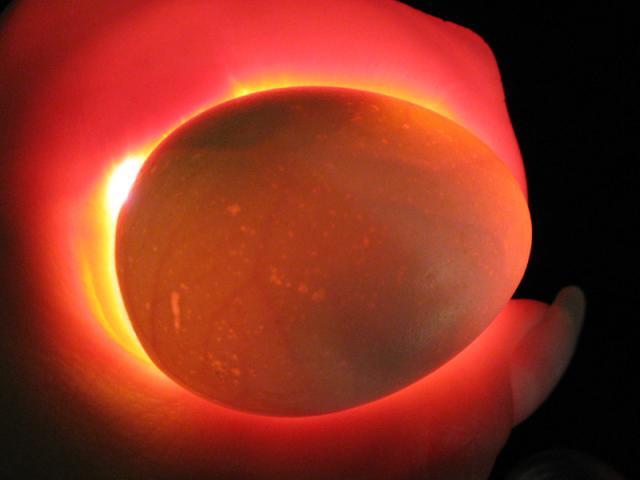
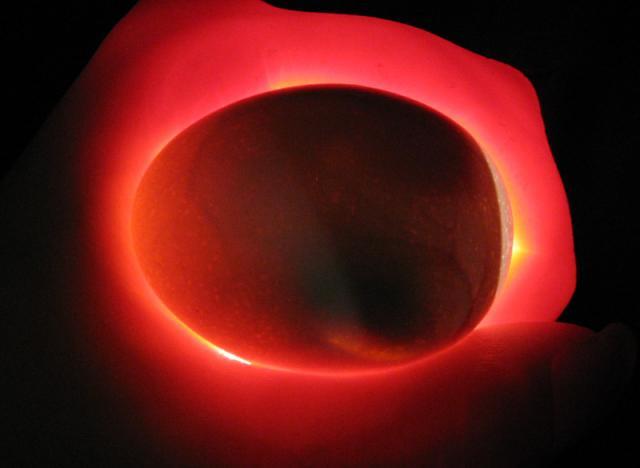
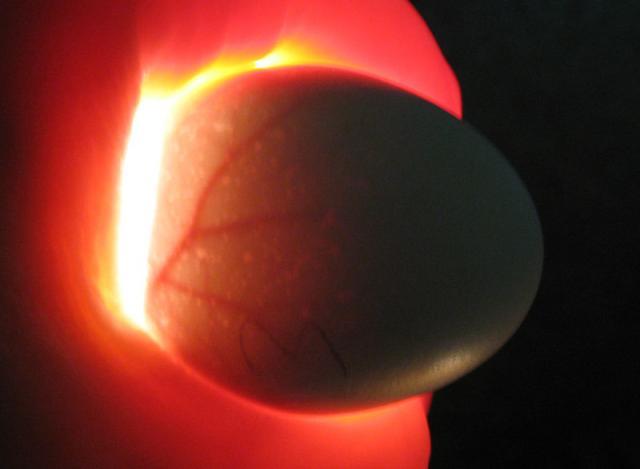
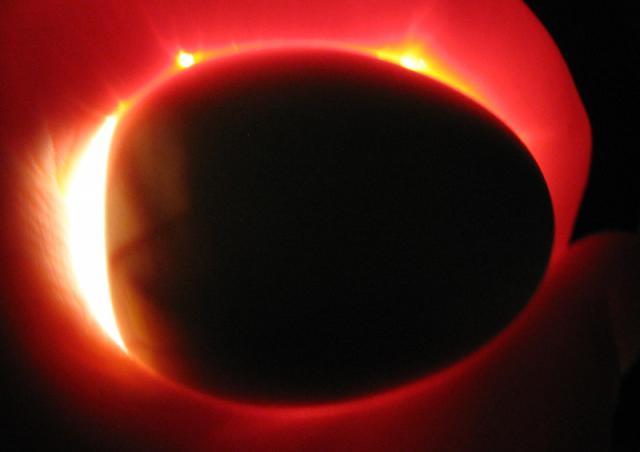
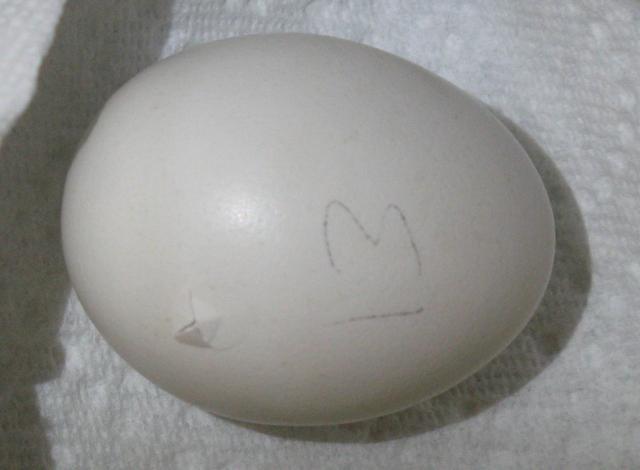
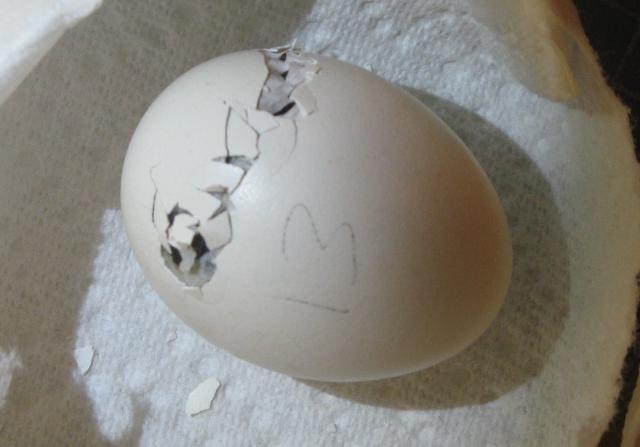
28hrs Not much to see though the egg at this point. If you were to open the egg and look at it under a dissection microscope, you'd see that the head/neural fold has formed, and up to 4 pairs of somites. (Somites are mesodermal  cells which migrate and give rise to tissues such as muscle, bone, and cartilage. Note  the number on the egg, it serves as tracking and to know which side is "up" as I am hand turning 3x a day.
http://www.backyardchickens.com/forum/uploads/thumbs/230_day_1_small.jpg


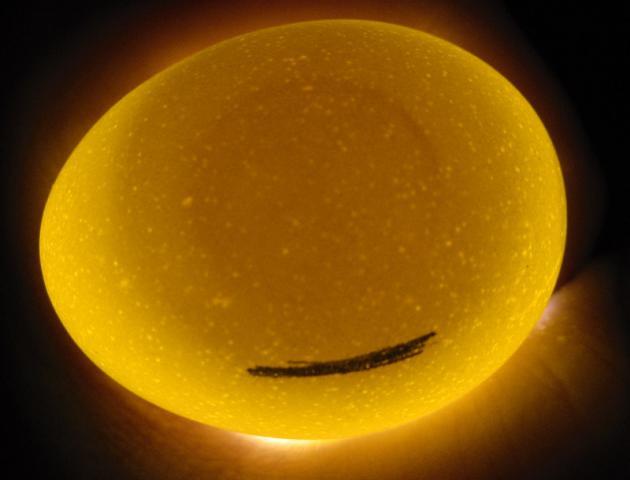
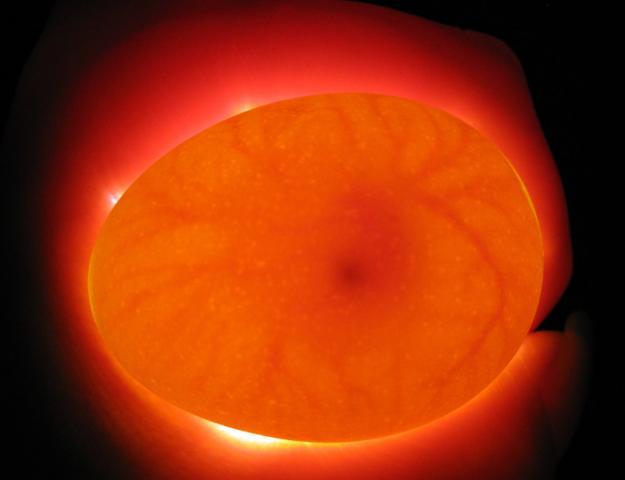
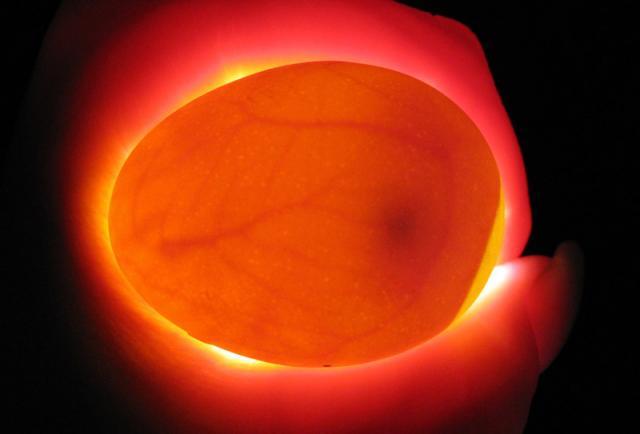
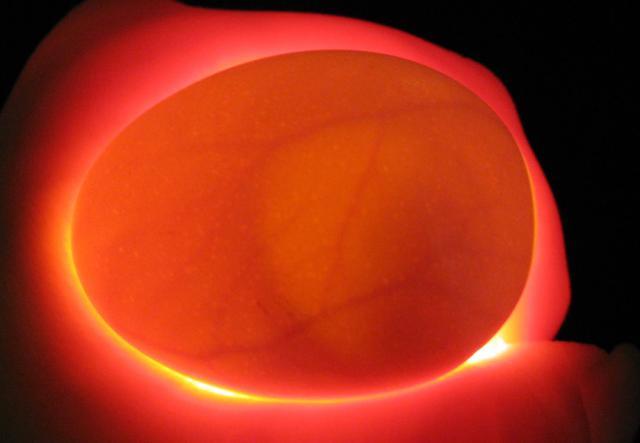
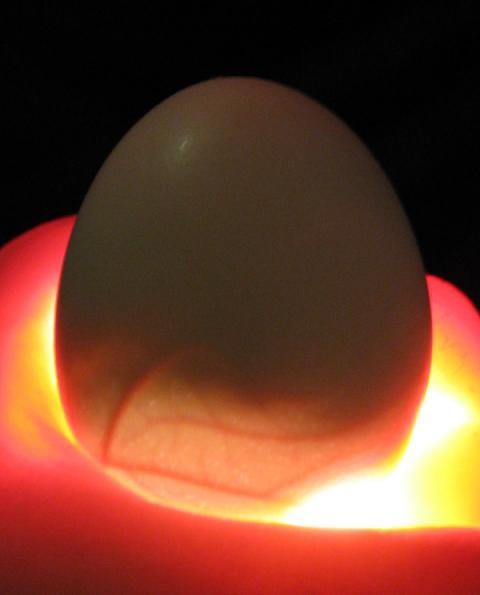
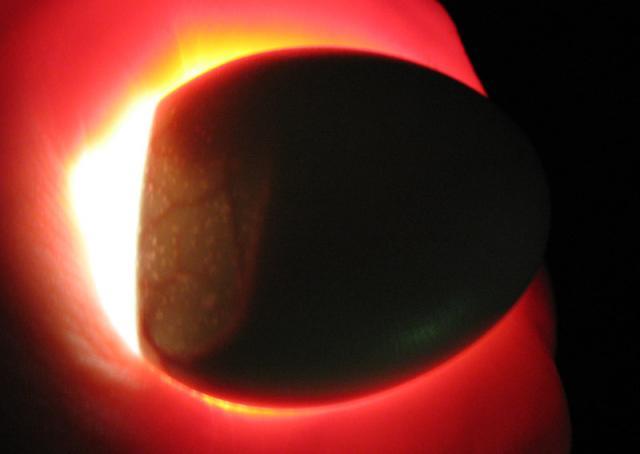
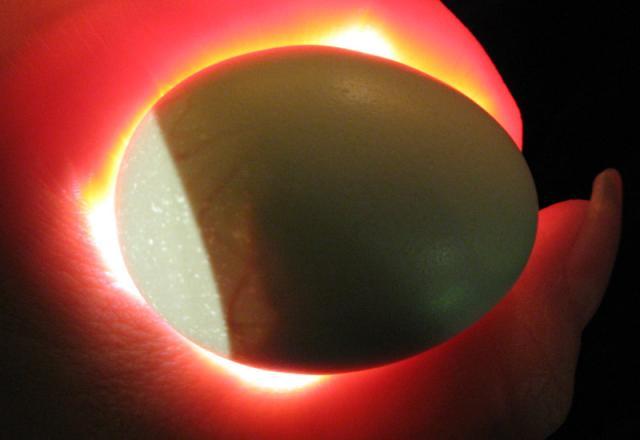
52 hrs If you look closely, you can see the start of the blood island in the middle of the egg. The heart is actively beating by this time and has started to turn; the heart starts out as a tube during development.
http://www.backyardchickens.com/forum/uploads/thumbs/230_day_2_small.jpg
May be easier to see after photoshop, it's that darker ring on top of the yolk shadow
http://www.backyardchickens.com/forum/uploads/thumbs/230_day_2_smallps.jpg


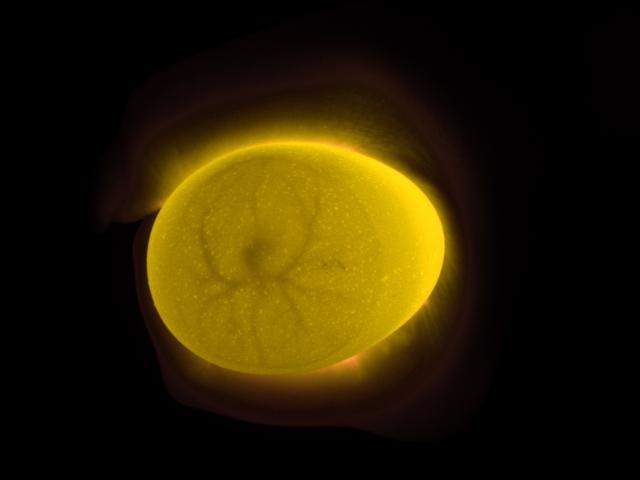
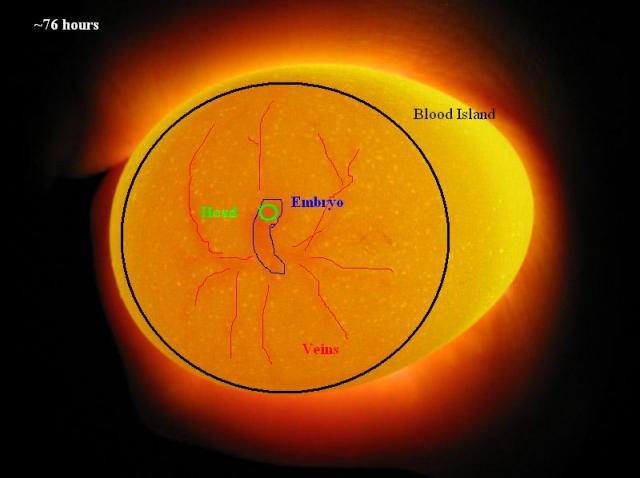
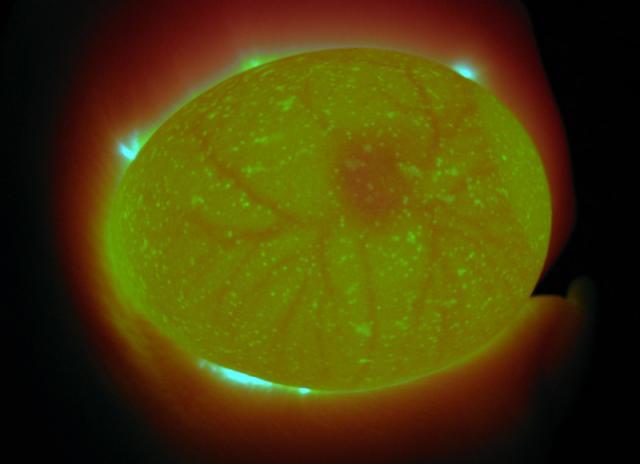
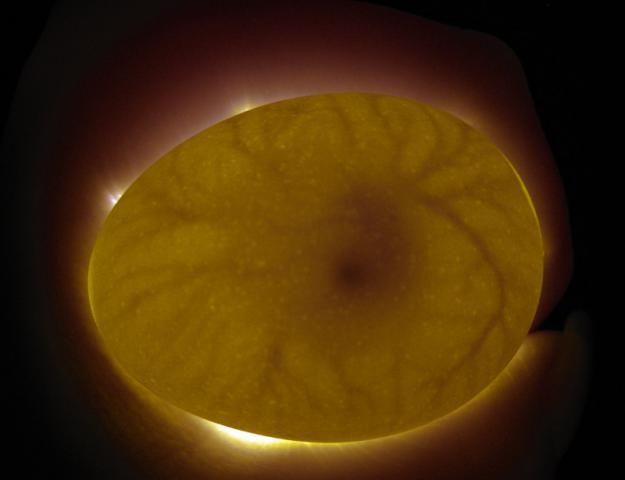
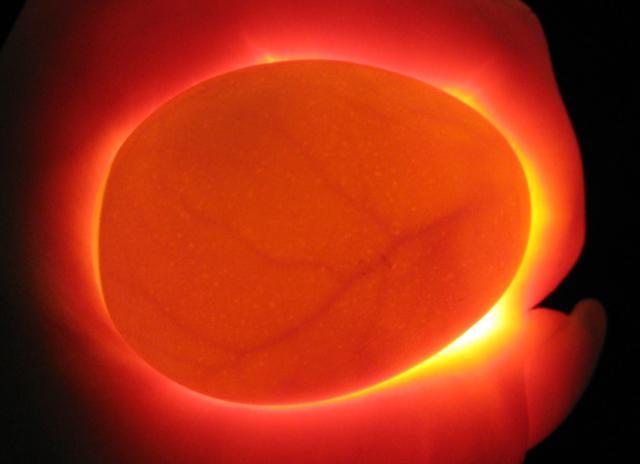
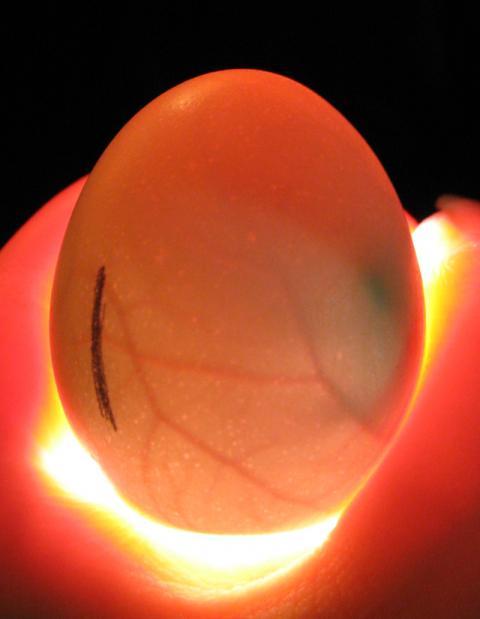
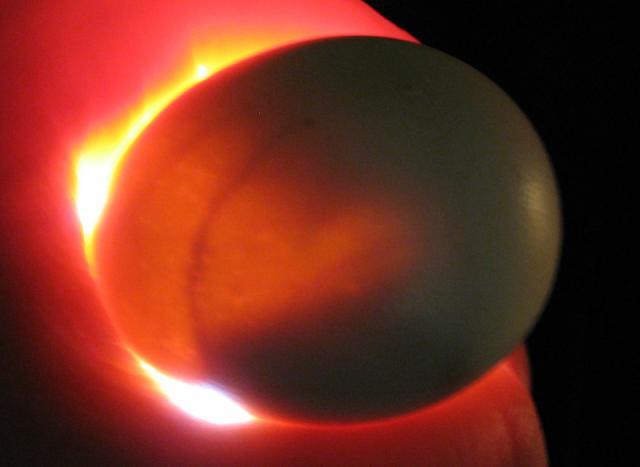
76 hrs At this point, limb buds have not only formed but are enlarging and the eye is beginning to become pigmented.
http://www.backyardchickens.com/forum/uploads/thumbs/230_day_3_embryo_better_copy.jpg

Some photo editing and you can really see the veins!
http://www.backyardchickens.com/forum/uploads/thumbs/230_day_3_embryo_better_chanel_mix.jpg

Schematic
http://www.backyardchickens.com/forum/uploads/thumbs/230_230_day_3_embryo_better_copy2ann.jpg


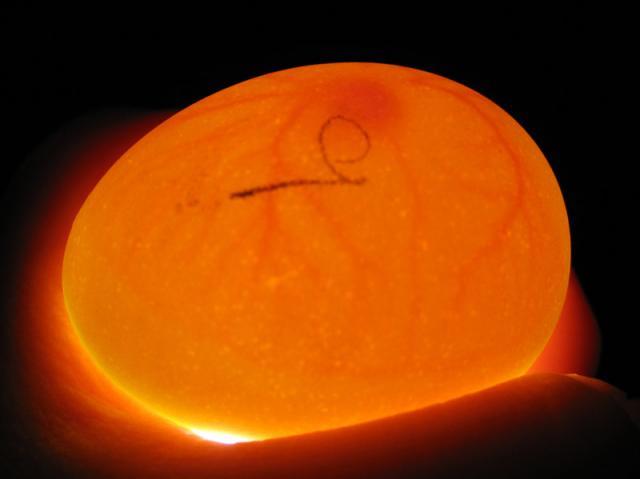
100 hrs The limbs are now starting to look like limbs and the embryo starts to look like what a common person would say is an embryo.
http://www.backyardchickens.com/forum/uploads/thumbs/230_day_4_two_small.jpg  http://www.backyardchickens.com/forum/uploads/thumbs/230_day_4_side_viewsmall.jpg

Enhanced to see veins
http://www.backyardchickens.com/forum/uploads/thumbs/230_day_4_smallps.jpg


Day5 On this day, the beak has just become viable and the chick's limb buds are no longer buds and instead will have identifiable digits! The black dot is the eye.
http://www.backyardchickens.com/forum/uploads/thumbs/230_day_5ps.jpg
Edited to enhance veins
http://www.backyardchickens.com/forum/uploads/thumbs/230_day_5psaltered.jpg
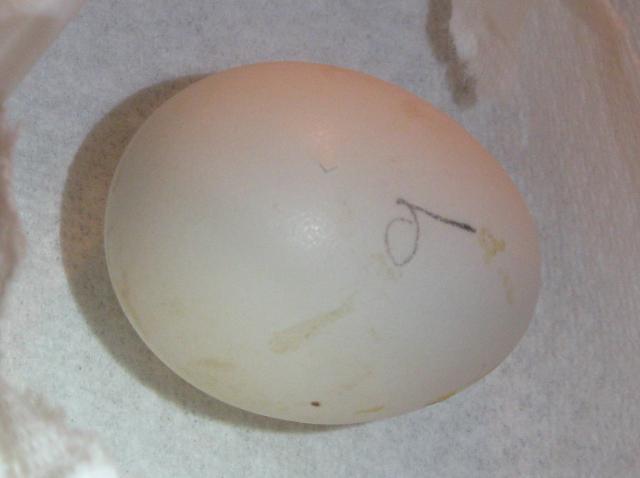
A day 3 or so quitter
http://www.backyardchickens.com/forum/uploads/thumbs/230_ps.jpg
Profile view and you can see the veins in my finger too.
http://www.backyardchickens.com/forum/uploads/thumbs/230_profile_and_fingerps.jpg


Day6 It gets harder to take clear vein pics, as there is enough vascularization that it gets a bit washed out.
http://www.backyardchickens.com/forum/uploads/thumbs/230_day_62ps.jpg  http://www.backyardchickens.com/forum/uploads/thumbs/230_psday6.jpg

Enhanced image.
http://www.backyardchickens.com/forum/uploads/thumbs/230_day6psaltered.jpg 

Embryo Movement Clip


Day 7 If you were to open them up, you'd see little specks where future feathers would emerge!
http://www.backyardchickens.com/forum/uploads/thumbs/230_day_7_2ps.jpg  http://www.backyardchickens.com/forum/uploads/thumbs/230_day_7ps.jpg


Day 8
http://www.backyardchickens.com/forum/uploads/thumbs/230_day_8_2ps.jpg  http://www.backyardchickens.com/forum/uploads/thumbs/230_day_8ps.jpg  http://www.backyardchickens.com/forum/uploads/thumbs/230_day_8_3ps.jpg


Day 9
http://www.backyardchickens.com/forum/uploads/thumbs/230_day_9_2ps.jpg  http://www.backyardchickens.com/forum/uploads/thumbs/230_day_9ps.jpg


Day 10
http://www.backyardchickens.com/forum/uploads/thumbs/230_day_10_copy.jpg  http://www.backyardchickens.com/forum/uploads/thumbs/230_day_10_3_copy.jpg  http://www.backyardchickens.com/forum/uploads/thumbs/230_day_10_2_copy.jpg


Day 11
http://www.backyardchickens.com/forum/uploads/thumbs/230_day_11_2_copy.jpg  http://www.backyardchickens.com/forum/uploads/thumbs/230_day_11_3_copy.jpg  http://www.backyardchickens.com/forum/uploads/thumbs/230_day_11_copy.jpg

Video


Day 12
http://www.backyardchickens.com/forum/uploads/thumbs/230_day_12_1_copy.jpg  http://www.backyardchickens.com/forum/uploads/thumbs/230_day_12_3_copy.jpg  http://www.backyardchickens.com/forum/uploads/thumbs/230_day_12_copy.jpg


Day 13 If you opened them up, you'd see claws forming!
http://www.backyardchickens.com/forum/uploads/thumbs/230_day_13_2_copy.jpg  http://www.backyardchickens.com/forum/uploads/thumbs/230_day_13_copy.jpg


Day 14 It's so dark there is pretty much nothing really to see! Just a bit of space left
http://www.backyardchickens.com/forum/uploads/thumbs/230_day14_copy.jpg   http://www.backyardchickens.com/forum/uploads/thumbs/230_day_14_2_copy.jpg


Day 15
http://www.backyardchickens.com/forum/uploads/thumbs/230_day_15_2_copy.jpg  http://www.backyardchickens.com/forum/uploads/thumbs/230_day_15_copy.jpg

Video


Day 16 You can see toes in the second one!
http://www.backyardchickens.com/forum/uploads/thumbs/230_day_16_copy.jpg   http://www.backyardchickens.com/forum/uploads/thumbs/230_day_16_toes_copy.jpg

Toes video


Day 17
http://www.backyardchickens.com/forum/uploads/thumbs/230_day_17_2_copy.jpg   http://www.backyardchickens.com/forum/uploads/thumbs/230_day_17_3_copy.jpg   http://www.backyardchickens.com/forum/uploads/thumbs/230_day_17_copy.jpg


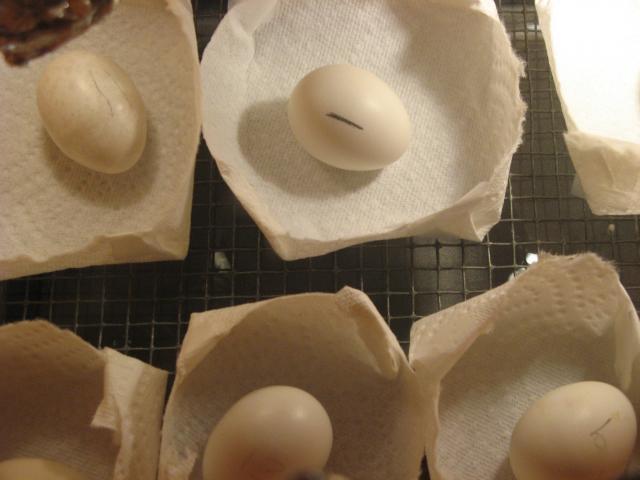
Day 18 Lock down!!!! Since there is plenty of space in the bator, I made little paper cups to put each egg in. Hopefully this will catch the majority of the hatch junk left over from popping out so clean up is a bit easier. 
http://www.backyardchickens.com/forum/uploads/thumbs/230_day_18_2_copy.jpg  http://www.backyardchickens.com/forum/uploads/thumbs/230_day_18_copy.jpg   http://www.backyardchickens.com/forum/uploads/thumbs/230_lock_down.jpg


HATCH DAY Note, there is no plan to open the bator for the next 48 hours. The top is clear so all the action can be seen without compromising the hatch!
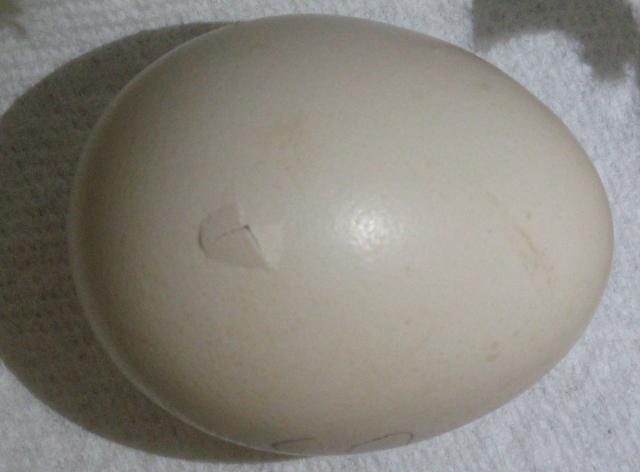
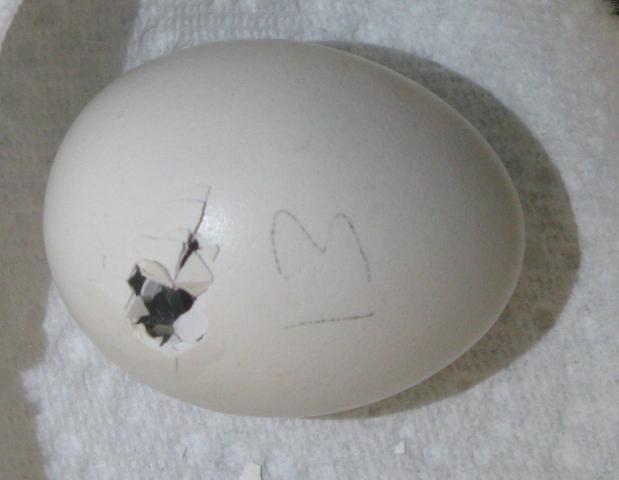
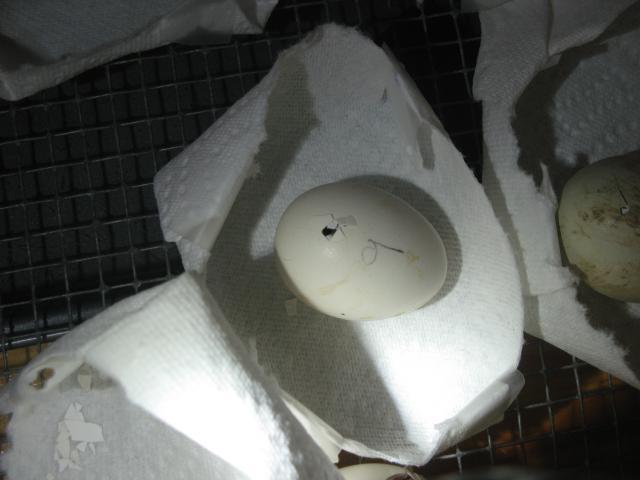
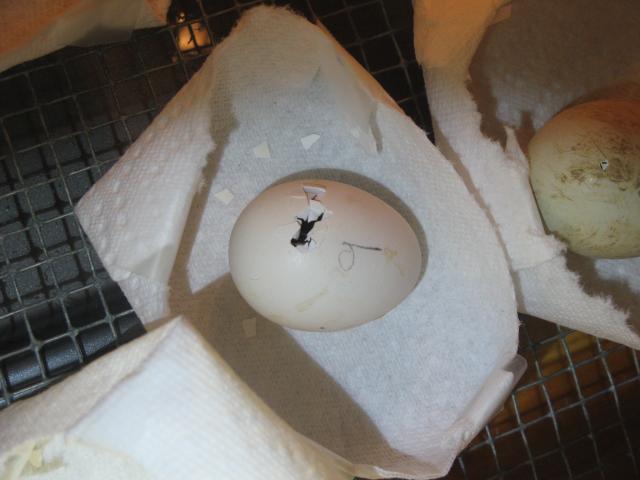
Pips
http://www.backyardchickens.com/forum/uploads/thumbs/230_pip3_copy.jpg    http://www.backyardchickens.com/forum/uploads/thumbs/230_pip_1_copy.jpg   http://www.backyardchickens.com/forum/uploads/thumbs/230_pip_2_copy.jpg    http://www.backyardchickens.com/forum/uploads/thumbs/230_pip_4_copy.jpg


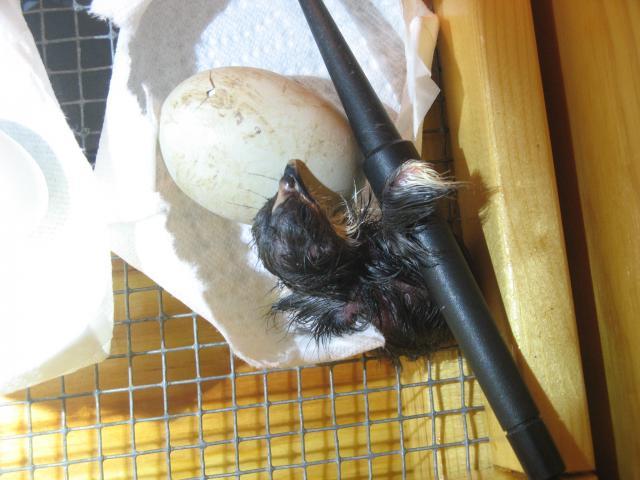
First to hatch: About 14 hours after the first pip at 4am. Note the clean hatch and absence of any blood in the shell. It was ready!
http://www.backyardchickens.com/forum/uploads/thumbs/230_bigger_pip_copy.jpg   http://www.backyardchickens.com/forum/uploads/thumbs/230_zip_copy.jpg   http://www.backyardchickens.com/forum/uploads/thumbs/230_shell.jpg   http://www.backyardchickens.com/forum/uploads/thumbs/230_tired_cihck.jpg

Hatch Video


Second to hatch: About 17 hours after the pip at 4am. Could have piped any time between 11pm and 4 am though. Another clean hatch.
http://www.backyardchickens.com/forum/uploads/thumbs/230_nine_1.jpg    http://www.backyardchickens.com/forum/uploads/thumbs/230_nine_2.jpg   http://www.backyardchickens.com/forum/uploads/thumbs/230_nine_3.jpg   http://www.backyardchickens.com/forum/uploads/thumbs/230_9_hatch.jpg

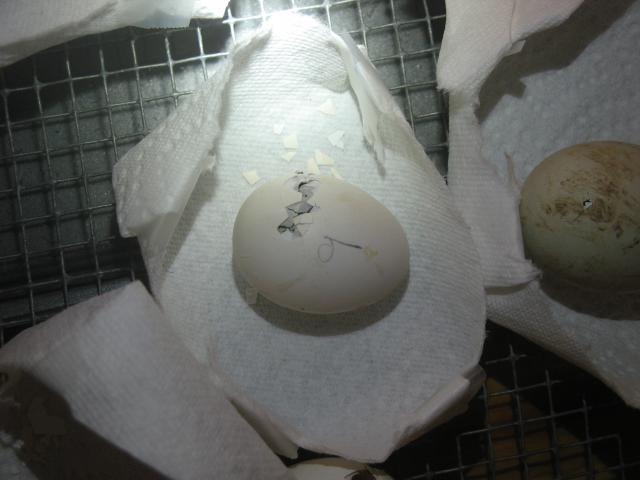
Note the first vid is part of the zipping. The pip to zip can literally be hours to days, but usually, once it starts to zip and sets out to get out, the shifting and cracking process is about 20-30 mintues.
Zipping


This one gets to the point more.
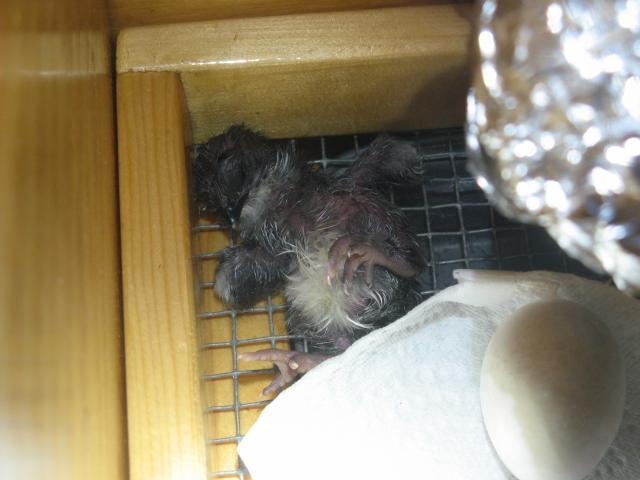
Hatching


30 hours after the first pip, the hatch is now complete! This is about my average time to hatch. I've had some take even longer so there really is no rushing the little guys.
There were 7 fertile eggs that made it to day 3. All 7 hatched on their own without opening the bator between day 18 though post hatch and fluff.

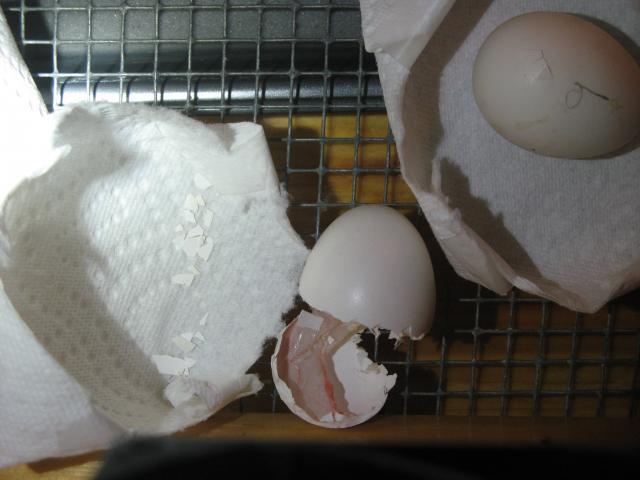
Post hatch shell interior. Note that all the vessels are gone and it's just pink. Not a single drop of blood. The little blob in the bottom is the chick wastes from development; think of it as embryo poo.
http://www.backyardchickens.com/forum/uploads/thumbs/230_shell_interior0014.jpg

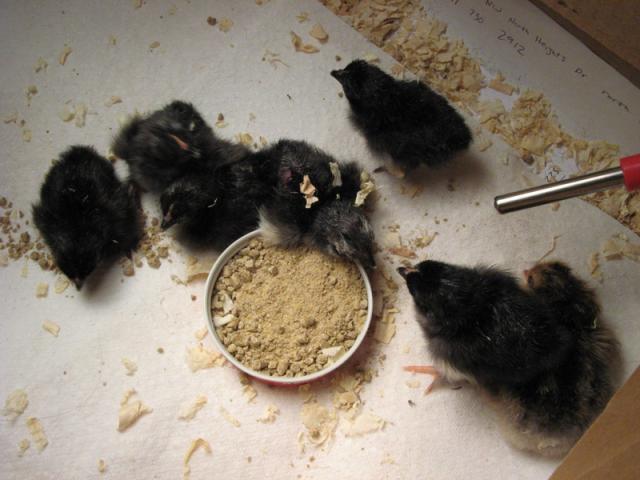
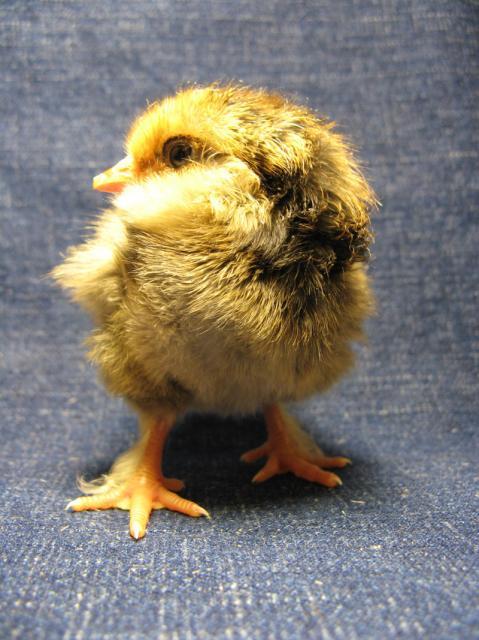
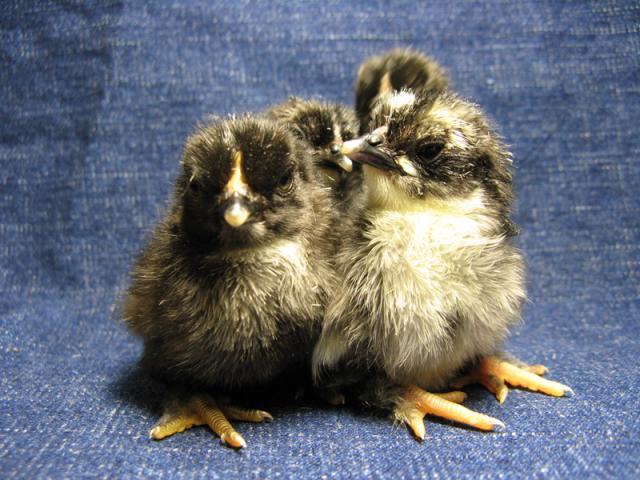
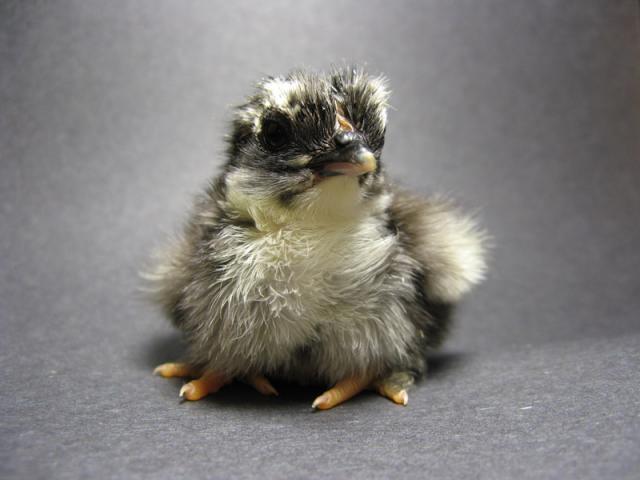
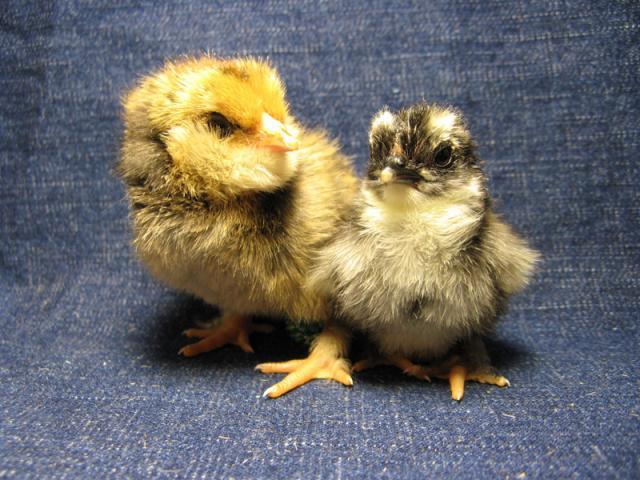
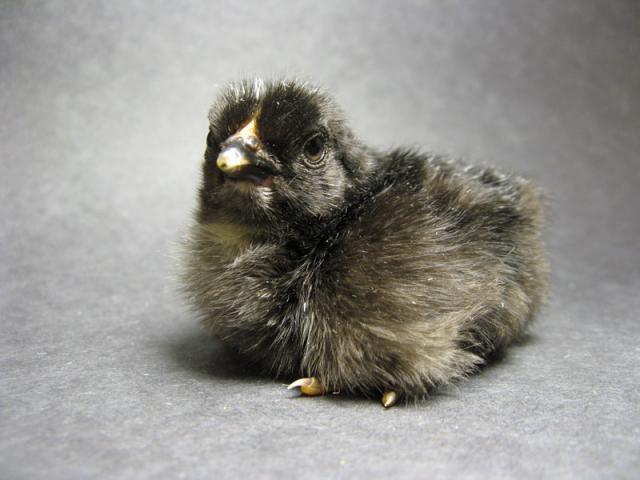
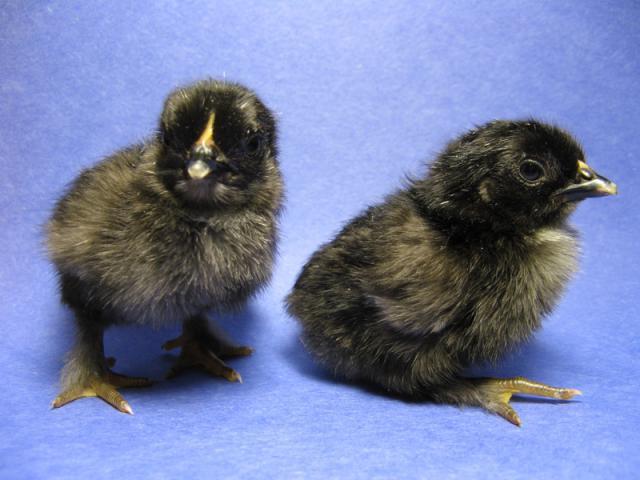
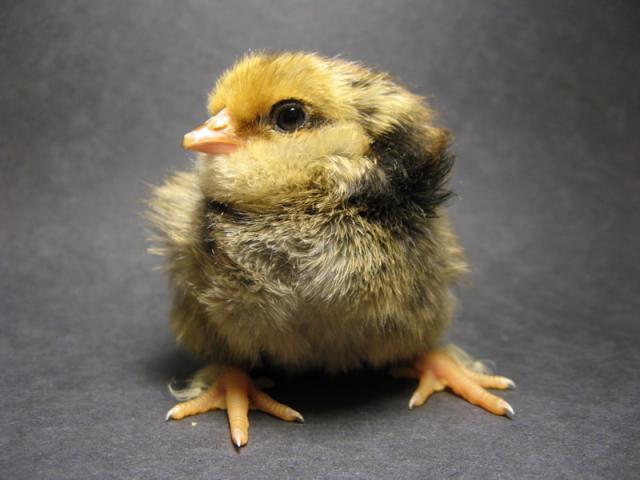
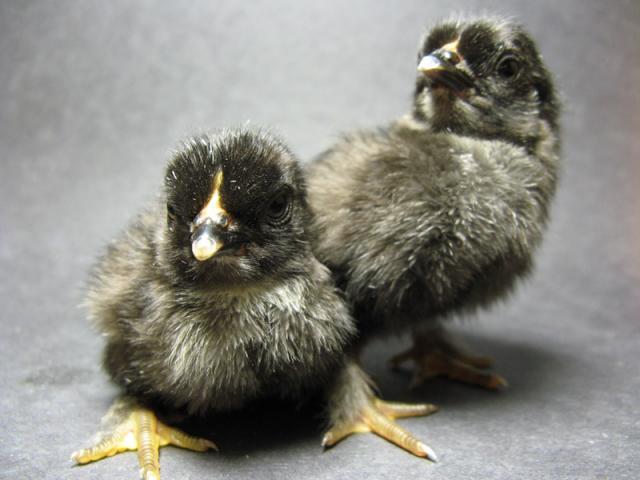
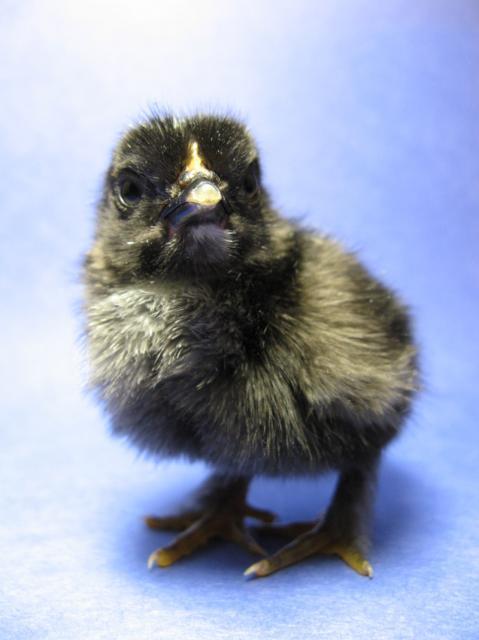
And now the best part! The chicks!!!

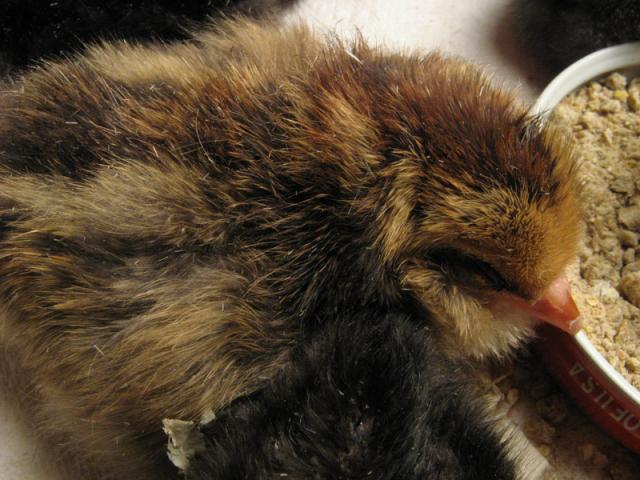
The chicks have learned how to drink from a hamster water bottle.
http://www.backyardchickens.com/forum/uploads/thumbs/230_brooder_baby0001.jpg   http://www.backyardchickens.com/forum/uploads/thumbs/230_four0004.jpg    http://www.backyardchickens.com/forum/uploads/thumbs/230_seven0013.jpg    http://www.backyardchickens.com/forum/uploads/thumbs/230_group_20006.jpg   http://www.backyardchickens.com/forum/uploads/thumbs/230_one0009.jpg   http://www.backyardchickens.com/forum/uploads/thumbs/230_pair0010.jpg   http://www.backyardchickens.com/forum/uploads/thumbs/230_chick20009.jpg    http://www.backyardchickens.com/forum/uploads/thumbs/230_chick30010.jpg    http://www.backyardchickens.com/forum/uploads/thumbs/230_chick_blue0003.jpg   http://www.backyardchickens.com/forum/uploads/thumbs/230_sleepychick0013.jpg    http://www.backyardchickens.com/forum/uploads/thumbs/230_ee_x_cochin0012.jpg    http://www.backyardchickens.com/forum/uploads/thumbs/230_chick_red0008.jpg   http://www.backyardchickens.com/forum/uploads/thumbs/230_chick_pair0006.jpg    http://www.backyardchickens.com/forum/uploads/thumbs/230_chick_30001.jpg


For more discussion on this page see the thread:
http://www.backyardchickens.com/forum/viewtopic.php?id=261876

No comments:

Post a Comment